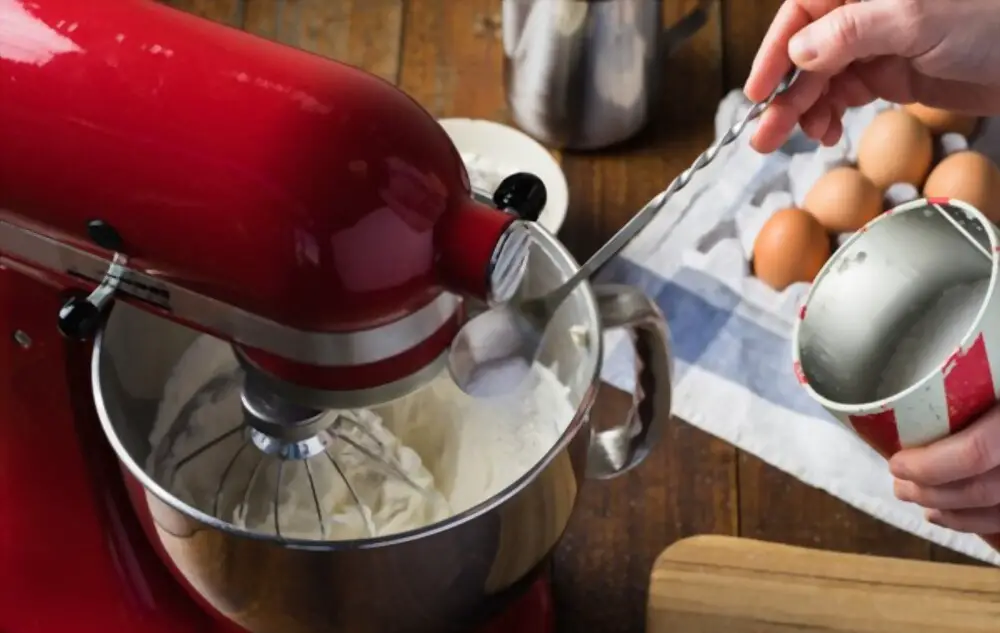
The reason why many choose to learn how to make vetkoek with ready made dough is because it’s not time consuming.
Vetkoek, also known as “fat cakes,” is a popular South African treat that is enjoyed by many. It is a deep-fried dough that can be served as a snack or as part of a meal. While traditional vetkoek is made from scratch, it is possible to make delicious vetkoek using ready-made dough.
What is Vetkoek and Why is it so Popular in South Africa?
Before we dive into the recipe, let’s take a moment to appreciate the beauty of vetkoek. Vetkoek is a dough-based dish that has been a staple of South African cuisine for generations. It is believed to have originated from the Dutch settlers who brought the recipe with them to South Africa. The word “vetkoek” means “fat cake” in Afrikaans, which is one of the official languages of South Africa.

What makes vetkoek so popular in South Africa is its versatility. It can be served as a sweet or savory dish, and it is commonly enjoyed as a snack or as part of a meal. Vetkoek can be filled with a variety of ingredients such as mince, cheese, jam, or syrup, depending on personal preferences. In short, vetkoek is a comfort food that brings people together and celebrates the diversity of South African culture.
How to Make Vetkoek with Ready Made Dough
learning how to make vetkoek with ready made dough, you will need the following ingredients:
Ready-made dough (available in the baking section of most supermarkets)
Oil for frying.
Flour for dusting
Water for wetting hands
Optional fillings (mince, cheese, jam, syrup, etc.)
As you can see, the ingredients list is short and sweet. That’s one of the great things about making vetkoek with ready-made dough – it’s quick and easy. You don’t need to spend hours in the kitchen to make a delicious batch of vetkoek.

Equipment:
Large mixing bowl
Deep-fryer or a large pot for deep-frying
Slotted spoon or tongs
Paper towels
How to Make Vetkoek with Ready Made Dough: Step by Step Guide
Step 1: Prepare the Dough
Remove the ready-made dough from its packaging and let it sit at room temperature for a few minutes. This will help to make the dough more pliable and easier to work with. Once the dough has softened, knead it gently for a few minutes to make it more uniform in texture.
Step 2: Shape the Dough
Next, dust a clean work surface with flour and roll out the dough into a large circle. Using a cookie cutter or a glass, cut out circles of dough to the desired size. Alternatively, you can also shape the dough into balls or squares, depending on your preference.
Step 3: Let the Dough Rise
Place the dough circles onto a greased baking sheet and cover them with a clean kitchen towel. Let the dough rise for 30 minutes to an hour, depending on the room temperature. This will help to ensure that the vetkoek is light and fluffy once it’s fried.
Step 4: Heat the Oil
While the dough is rising, heat the cooking oil in a deep-fryer or a large pot over medium-high heat. The oil should be hot but not smoking, ideally around 180°C/350°F. To test if the oil is ready, drop a small piece of dough into the oil – if it sizzles and turns golden brown within a few seconds, it’s ready for frying.

Step 5: Fry the Vetkoek
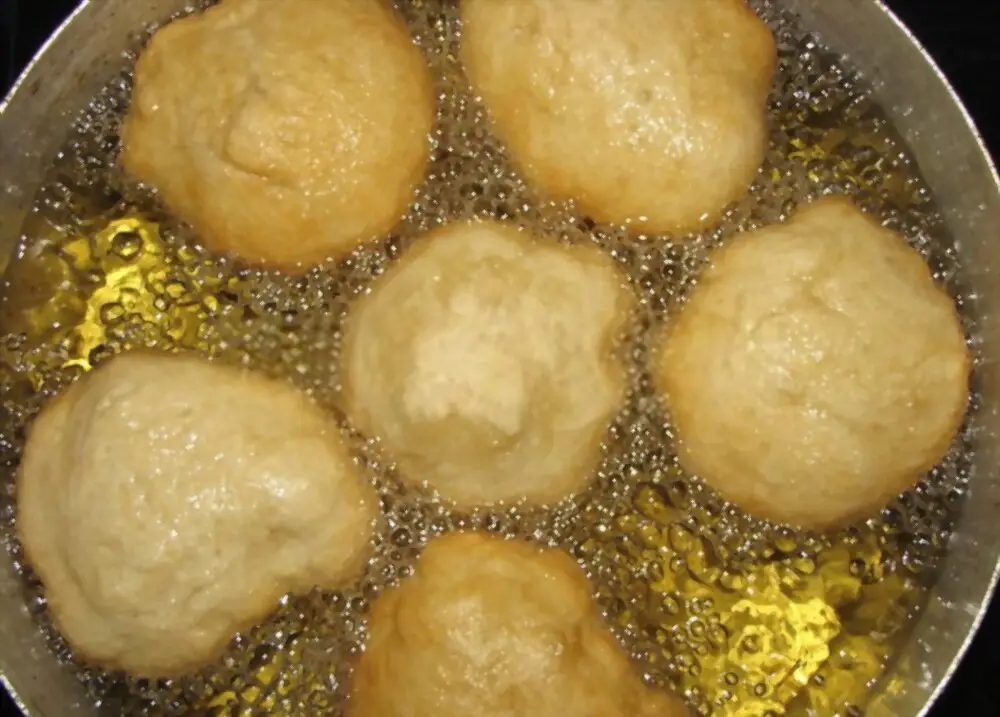
Using a slotted spoon or tongs, carefully lower the vetkoek into the hot oil, taking care not to overcrowd the pot. Fry the vetkoek for 2-3 minutes on each side, or until they are golden brown and crispy on the outside and cooked through on the inside. Once cooked, use the slotted spoon or tongs to remove the vetkoek from the oil and place them onto a plate lined with paper towels to drain any excess oil.
Step 6: Serve and Enjoy!
Vetkoek can be served hot or cold and can be filled with a variety of delicious fillings, such as mince, cheese, or jam. Simply cut a small slit into the vetkoek and fill it with your desired filling. Alternatively, you can serve it plain or with a hearty soup. The possibilities are endless!
See also: How to cook amadumbe
How to Make Vetkoek in the Oven
Step 1: Preheat the Oven and Prepare the Dough
Preheat your oven to 200°C (400°F) and line a baking sheet with parchment paper. Dust a clean surface with flour and roll out the vetkoek dough until it is about 1/2 inch thick.
Step 2: Cut the Dough into Rounds
Use a round cookie cutter or a drinking glass to cut the dough into rounds. You can also use a knife to cut the dough into squares or rectangles if you prefer. Place the rounds or shapes onto the prepared baking sheet, leaving a few inches between each vetkoek.
Step 3: Allow the Dough to Rise
In a small bowl, mix together the melted butter, warm water, beaten egg, and salt. Brush this mixture over the tops of the vetkoek rounds. This will help them to rise and turn golden brown in the oven. Allow the vetkoek rounds to rest for about 10-15 minutes to allow the dough to rise.
Step 4: Bake the Vetkoek
Place the baking sheet in the preheated oven and bake the vetkoek for 12-15 minutes or until golden brown. The vetkoek should be puffy and cooked through on the inside. Once they are done, remove them from the oven and allow them to cool for a few minutes on the baking sheet.
Tips for Making Perfect Vetkoek
Now that you know how to make vetkoek with ready made dough, here are some useful tips.
While making vetkoek with ready-made dough is a quick and easy process, there are a few tips to ensure that your vetkoek turns out perfectly every time:
Make sure the oil is hot but not smoking before frying the vetkoek. If the oil is too hot, the vetkoek will cook too quickly and be raw on the inside.
Don’t overcrowd the pot when frying the vetkoek. This can cause the temperature of the oil to drop, resulting in greasy and soggy vetkoek.
Let the vetkoek drain on paper towels after frying to remove any excess oil.
Use a kitchen thermometer to monitor the temperature of the oil. This will help to ensure that the oil stays at a consistent temperature throughout the frying process.
How to Make Vetkoek with Ready Made Dough Conclusion
Mastering how to make vetkoek with ready made dough can be lifesaver in terms of cutting down preparation time. With just a few simple steps, you can have golden brown and fluffy vetkoek ready to be enjoyed with your favourite filling or soup.
So next time you’re in the mood for something indulgent, give this recipe a try and impress your friends and family with your vetkoek-making skills!


